It’s time to share my favorite recipe! I call this “mac n cheese” but really, it’s so much better than that, more gourmet than that. It’s gluten-free pasta with goat cheese, spinach, onions, garlic, spices and love!
I created this recipe when I was pregnant with my first child and I had aversions to so many foods. I had a really difficult time feeding my hungry, pregnant belly when I didn’t want anything. I especially didn’t want vegetables, which, as a nutrition-phile, was frightening! So, I experienced a slight craving for pasta and I went with it. While I was making it, I decided I wanted cheese and realized I could “hide” a lot of spinach in it. My husband and I devoured this so quickly and we were so stuffed but we couldn’t wait to make it again. We ate so much of it that I began thinning the cheese mixture so that I could divide the pasta into two casserole dishes and make it last!
Warning: I am not a chef, nor am I a recipe-writer! Even when I follow recipes I’m not that great at measuring. So, I’m estimating here and if you’re uncomfortable with that, I understand! Please, use more onion and garlic if you like or make your cheese mixture thinner or thicker if that’s what you like. I’m simply and humbly passing on the general flow and creation of a meal that my family and friends absolutely love and I hope you will too!
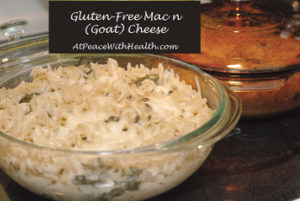
Gluten-Free Mac n (Goat) Cheese
Ingredients:
1 onion chopped
1-2 garlic cloves, chopped
1 tbsp butter (or coconut oil – if you don’t use butter)
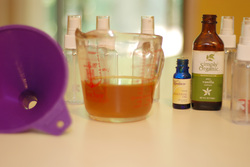
1 11-oz log of Chevre goat cheese
1c So Delicious Coconut Milk Beverage unsweetened (or other dairy / non-dairy beverage)
1 tsp basil
1 tsp oregano
1 tsp parsley
Salt & pepper to taste
Lots of spinach (at least 2 cups)
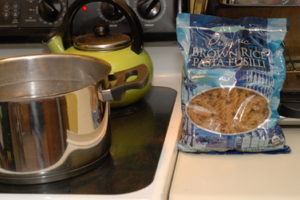
16 oz GF Pasta (I use Trader Joe’s organic brown rice pasta)
Water to boil
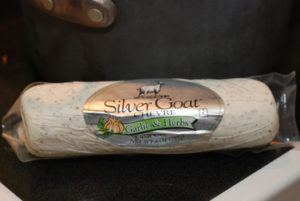
½ lb Cheddar goat cheese, shredded (or less)
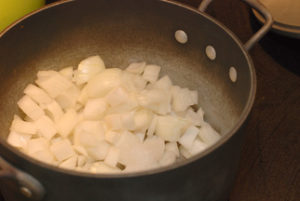
Onions and garlic cooked with butter or oil – the foundation of many great meals!
Sautee the onion and garlic in the butter over medium heat until soft. Add the Chevre and break it up in the pot, lowering the heat slightly so it doesn’t burn. Once the Chevre softens, add the milk. When everything is thickened and liquid, add the spices and stir. Lower the temperature to medium-low, add as much spinach as you want and put the lid on it. You want it just below a simmer. Check it every few minutes and turn it off when the spinach is wilted.
I use both plain and “garlic & herbs” Chevre, depending on what I have in the fridge.
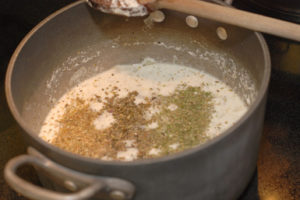
Thickened, melted Chevre and milk with spices on top.
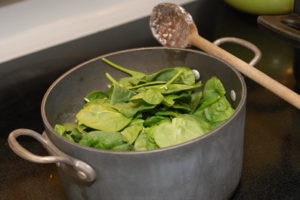
I’m guessing this is 2 cups of spinach, but I cram even more in. Experiment with the amount you like. It practically disappears into the dish!
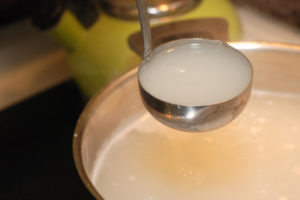
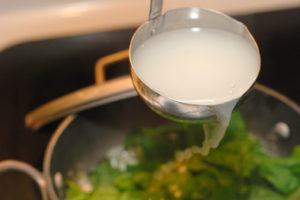
Now, boil the pasta and shred the cheddar cheese. Just before you dump your pasta into a colander, add a ladle-ful of pasta-boiling-water to your cheese mixture (this adds the starch to help the mixture adhere to the pasta when mixed together).
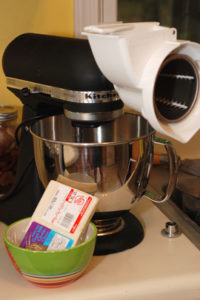
This is a half pound block of cheddar goat cheese from Trader Joe’s. I also will get cheddar goat cheese from Whole Foods and use 7 oz. The dish won’t suffer with more or less cheese.
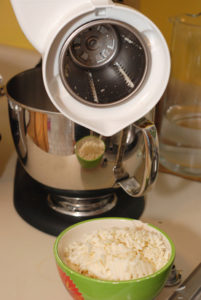
Do you have a Kitchen-Aid mixer? Do you have the grinder attachment? I love it. It shreds a block of cheese in about 30 seconds!
This is the pasta I prefer to use. Cook til al dente so it doesn’t become mushy.
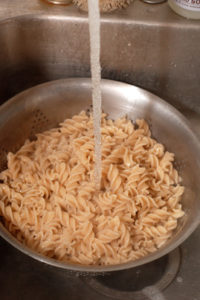
The water is milky because of the starch being released from the pasta. This starch, added to the cheese mixture, will make the mixture “stick” to the pasta instead of sinking to the bottom.
If you forget this step, don’t panic! You can’t go wrong with pasta and cheese. Can you?
Don’t forget this step… Rinsing your pasta will stop it from cooking and prevent mushiness when everything is combined and baked.
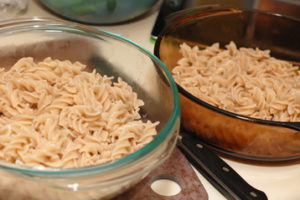
Assemble. Divide the pasta between two casserole dishes. Mix the cheese and spinach mixture into it. Sprinkle the shredded cheddar goat cheese on top. Cover and bake for 20 minutes at 350 degrees.
Divide pasta between 2 casserole dishes.
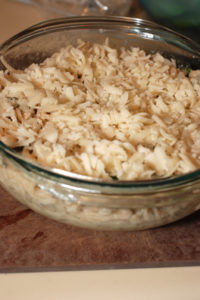
Stir the cheese mixture into the pasta and sprinkle the shredded cheese on top. Cover and bake at 350 for 20 minutes.
The goodness of this meal is unrivaled in our home! Enjoy!