I’m always trying new bug sprays while refusing to use the majority of over-the-counter mosquito repellants because of their ingredients. I now have little babies to think about too. It is becoming common knowledge that the substances we put on our skin enter into our bloodstream. You can read more about that here, if you’re interested. So, I ask myself often, if I wouldn’t eat it, should I put it on my body? Or on my babies’ bodies?
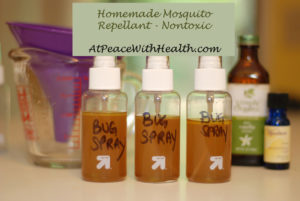
Now I arrive at the reason for this post: my favorite, effective, good-smelling, non-toxic, homemade, 3-ingredient mosquito repellant! There is no sticky or oily residue and you don’t stink afterwards. It does require re-application and it may clog some spray bottles, but these are minor issues to me when my skin and my children’s skin is protected (without the use of chemicals).
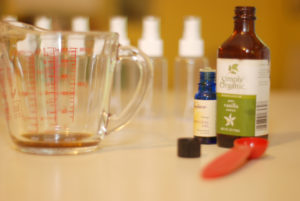
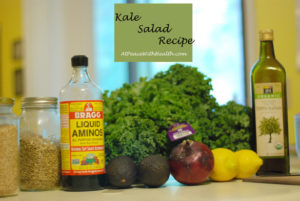
2 tsp vanilla extract (no sugar added, not imitation)
1 tsp orange oil (essential oil)
8 oz water
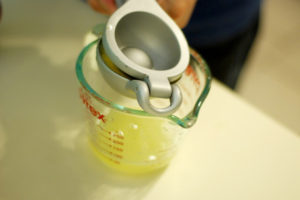
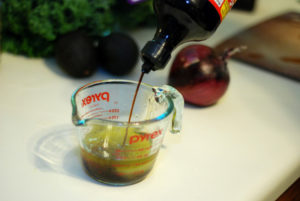
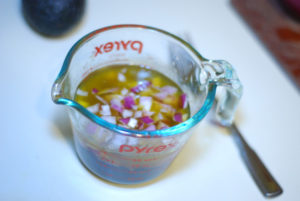
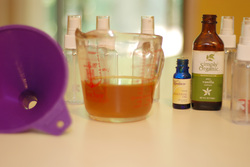
Directions:
Mix these together thoroughly and pour into a spray bottle (or several). Shake before use. Spray a lot, everywhere, frequently. I base these measurements off of an e-how article I read and I’ve made it twice, both times with good results.
Here are some tips to get you started concocting your own non-toxic homemade bug spray:
- Buy organic vanilla extract. I purchased a 4 oz bottle made by Simply Organic. The good news? There’s always a $1 off coupon available on their website!
- Use a high-quality essential oil. I used Wyndmere because that’s what I could find in the store (here it is listed on Amazon, if you can’t find it). Higher quality essential oils can be purchased through an authorized seller of Young Living Essential Oils (which I am). Check out their website and see the difference! If you’re interested in purchasing this oil or other oils, just contact me!
- As for the spray bottle, I tried a standard spray bottle that you would get in the cleaning aisle and it lasted about a day before it clogged. I have since purchased trial size spray bottles at Target for $0.97 each. Even with daily use only one has clogged!
I still love this bug spray but I’ve learned a few things. No plastic bottles! Invest in glass when using essential oils. This spray didn’t remain effective in a clear, plastic bottle because light was able to get to it. Buy small, dark glass bottles (I found some at a local health food store for less than $3). I also know now that I will not put any other essential oils on mine or my family’s bodies unless the oils are Young Living Therapeutic Grade Essential Oils. Other oils are not guaranteed or even created for anything other than aromatherapy. They are not safe for skin application and can actually be unhealthy when applied. Lesson learned!
If you want to make the switch to Young Living, it’s easy!
Go here and enter the Sponsor ID and Enroller ID 1414775. Enter your personal information, select Wholesale (it will save you 24% off the retail price), and choose the Premium Starter Kit. You can bypass the Essential Rewards Kits (they’re optional) and you’ll be well on your way to experiencing all these benefits and more! (If you do decide to do Essential Rewards, you can sign up at any time, spend $50 a month and save on shipping while gradually building your medicine cabinet arsenal for every ailment imaginable).
Read more about why we use ONLY Young Living in our home here.